
Agent Contacts
Agent contacts are the people who work for your agency. Creating a contact and assigning them a role is how you create a user in the system. Once saved, the person can sign up using the email address on their contact record and they will be automatically matched and granted access at the level their role defines. Each contact should be assigned exactly one role — do not assign multiple roles to the same person.
The two roles available for agent staff are:
- Property Manager — full access to manage OMCs, requests, and contacts
- System Admin — all Property Manager access plus system-level configuration
Removing Login Access
Section titled “Removing Login Access”To withdraw system access while a colleague is still with the agency — moving them off the system without them leaving — delete their role in the Roles panel and save. The contact record and its history remain in place, so you can still see who performed historical actions.
When someone leaves the agency for good, use Retire instead. It does the same job and tidies up the contact record at the same time.
Retiring a Contact
Section titled “Retiring a Contact”Agency staff are never deleted. Every request they owned, every action they completed and every conversation they followed still points at their contact record, and that history has to keep resolving. The Retire action is how you close someone’s involvement:
- Their role is removed, so they can no longer log in
- Their email status is set to Invalid, so the system stops sending them mail
- Their contact type is set to Past Participant, marking them as no longer involved
Everything else is untouched. The contact stays in the list, and their name continues to appear correctly against all their historical work.
List View
Section titled “List View”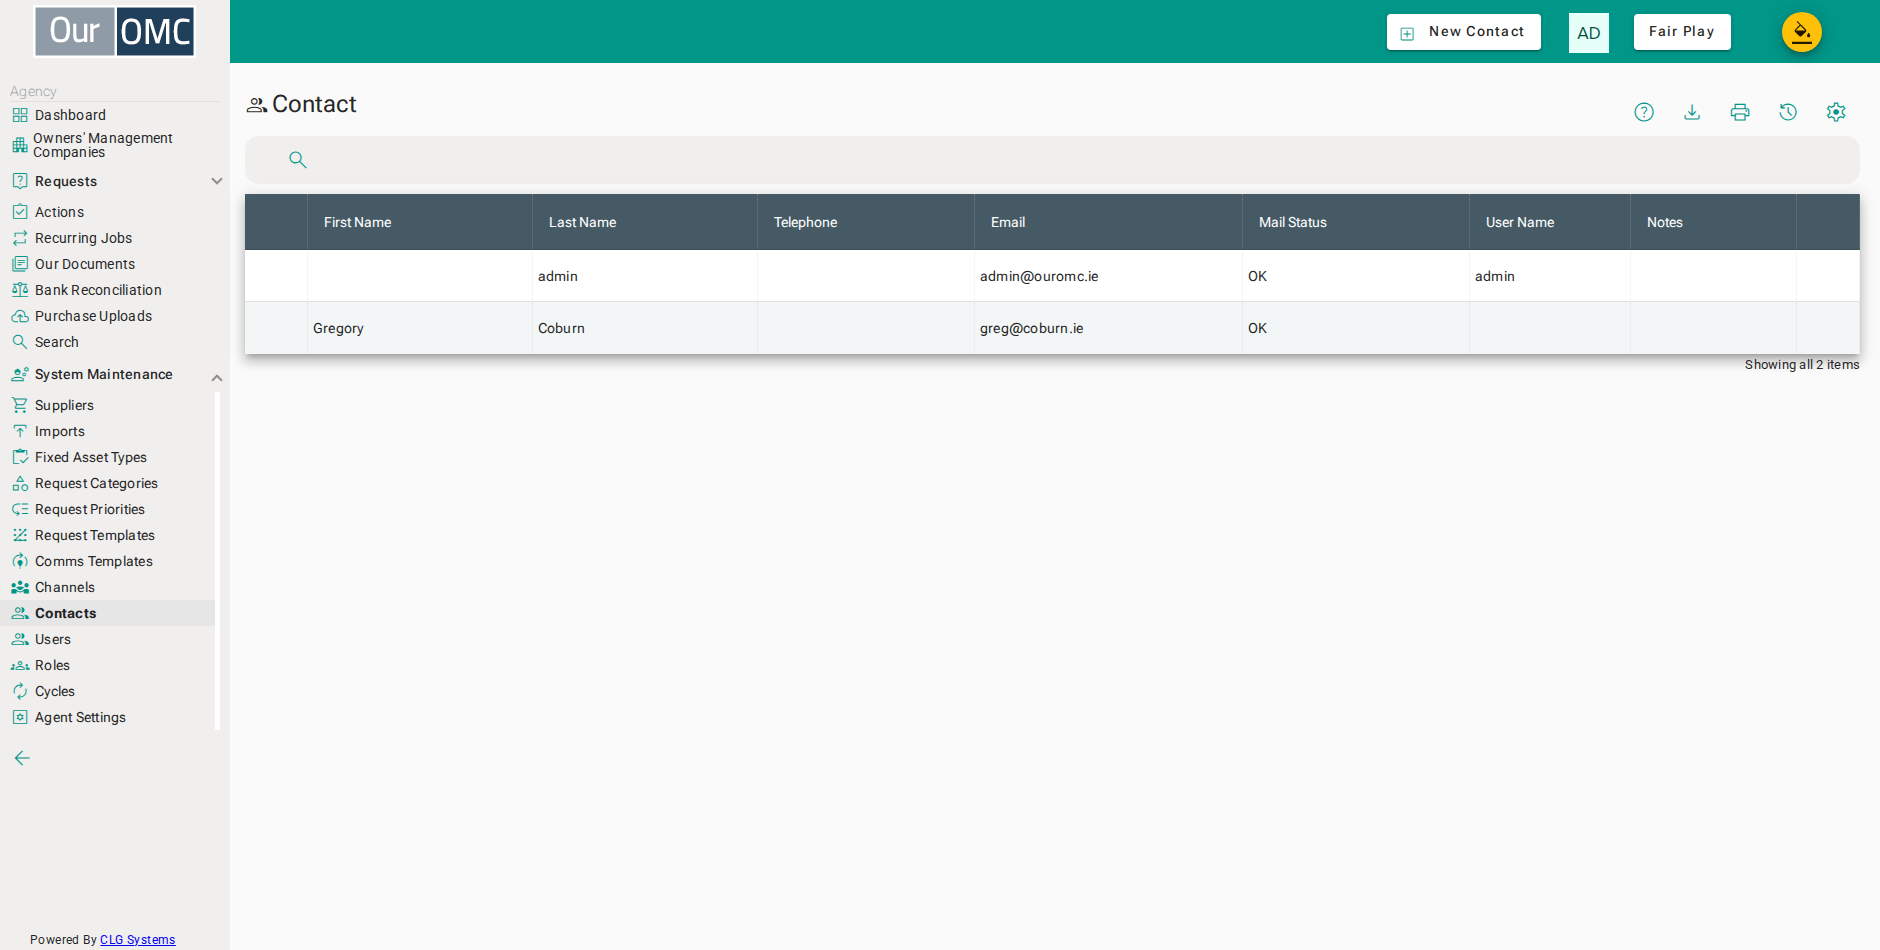
| Column | Type | Description |
|---|---|---|
| First Name | text | The contact's first name. |
| Last Name | text | The contact's last name. |
| Telephone | phone | The contact's direct phone number. |
| The contact's email address. This is the address they must use when signing up — once they have logged in the address is locked and can only be changed using the Edit Email Address action. | ||
| Mail Status | picklist | Controls whether the system will send emails to this contact. Only OK allows mail to be sent — any other status means mail will not be delivered. The other values explain why: the contact opted out, their address is bouncing, they marked mail as spam, or the address is invalid. |
| Contact Type | picklist | |
| Supplier | picklist | |
| User Name | text | The username of the system account linked to this contact. This is populated automatically once the contact signs up using the email address on this record. |
| Notes | longText | Internal notes about this contact. These are not visible to the contact. |
Detail View
Section titled “Detail View”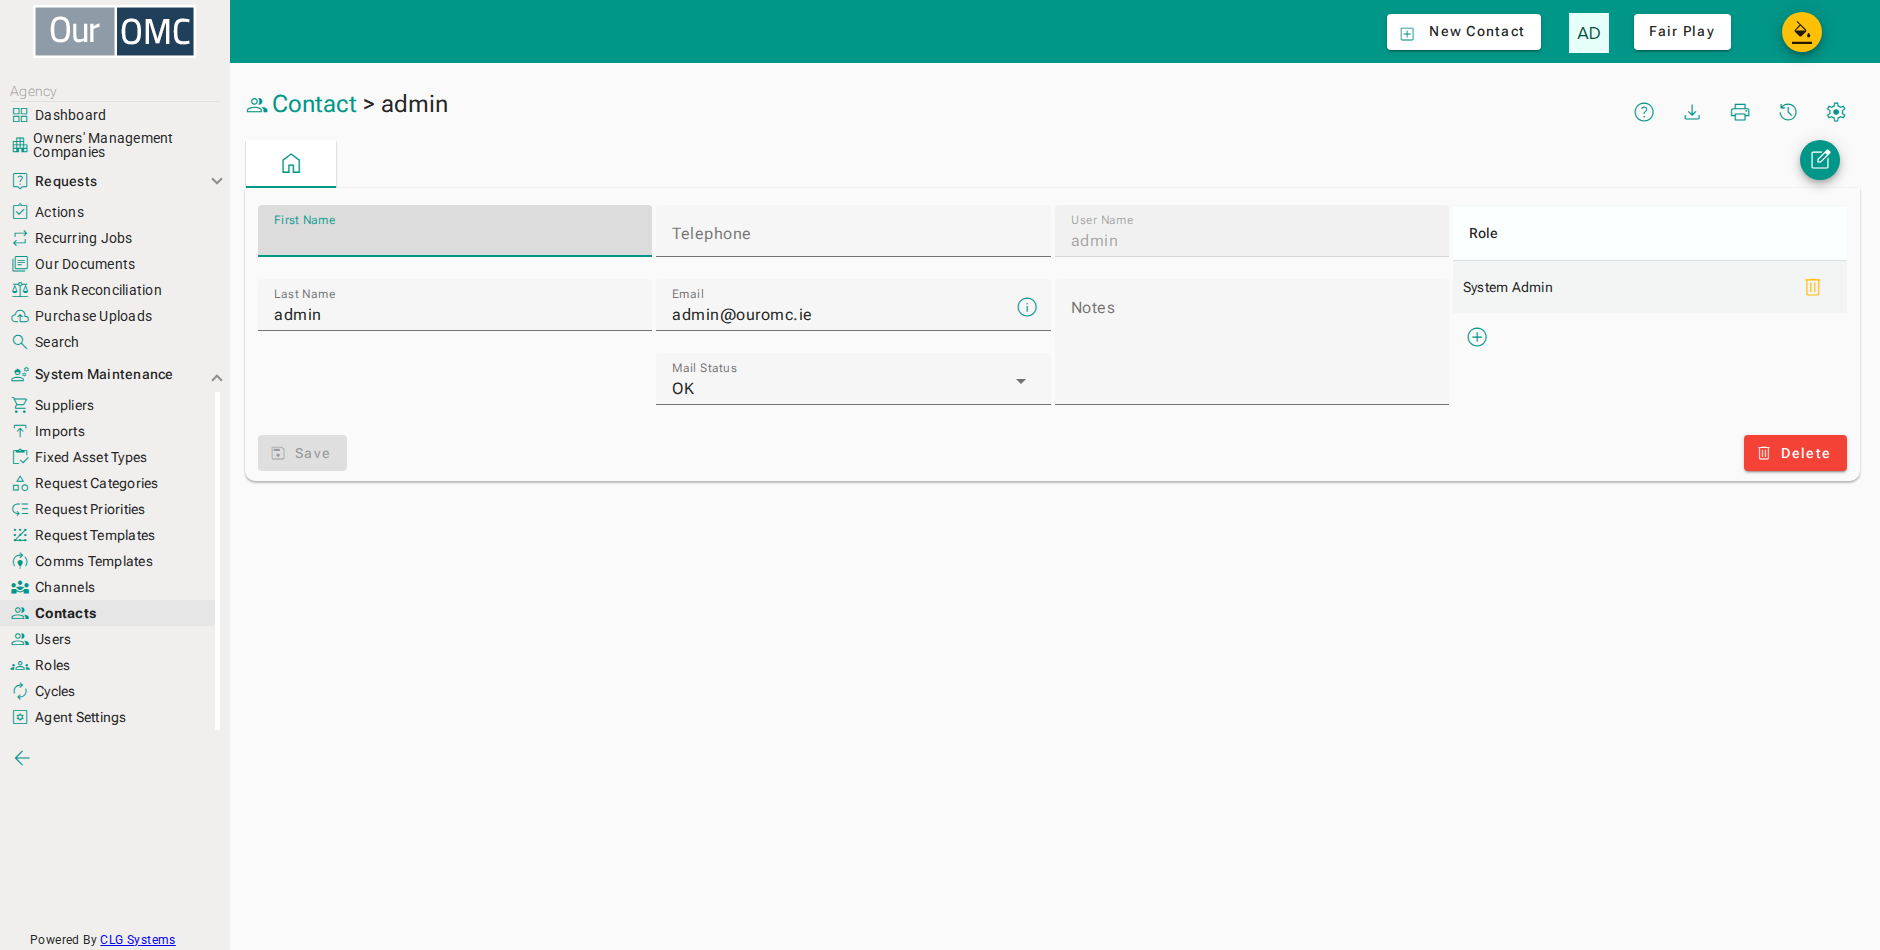
| Field | Type | Description |
|---|---|---|
| First Name | text | The contact's first name. |
| Last Name | text | The contact's last name. |
| Telephone | phone | The contact's direct phone number. |
| The contact's email address. This is the address they must use when signing up — once they have logged in the address is locked and can only be changed using the Edit Email Address action. | ||
| Mail Status | picklist | Controls whether the system will send emails to this contact. Only OK allows mail to be sent — any other status means mail will not be delivered. The other values explain why: the contact opted out, their address is bouncing, they marked mail as spam, or the address is invalid. |
| Contact Type | picklist | |
| Supplier | picklist | |
| User Name | text | The username of the system account linked to this contact. This is populated automatically once the contact signs up using the email address on this record. |
| Notes | longText | Internal notes about this contact. These are not visible to the contact. |
| Roles | grid | The system role assigned to this contact, which controls their level of access. Each contact should have exactly one role — Property Manager for day-to-day management access, or System Admin for full administrative access. |
| Role | picklist | Select the role to assign. Property Manager grants access to manage OMCs, requests, and contacts. System Admin grants full administrative access including system configuration. |
| icon | Click to remove item from list |
Available Actions
Section titled “Available Actions”| Action | Description |
|---|---|
Edit Email Address | Update the email address for this contact |
Retire | Remove this contact's access when they leave the agency |
Examples
Section titled “Examples”Creating a Contact
Section titled “Creating a Contact”Add a new team member and assign them a role so they can sign up and access the system.
- Click [System Maintenance / Contacts] on the main menu
- Click on the new button
- Enter the first name
- Enter the last name
- Enter the contact phone number
- Enter the email address — when the person signs up with this address they will be matched to this contact
- Click the new button to add a role
- Assign the Property Manager role to grant access to manage OMCs
- Click on the save button
Editing a Contact
Section titled “Editing a Contact”Update the details of an existing team member — name, phone, or address.
- Click [System Maintenance / Contacts] on the main menu
- Click row where [firstName] is [Charlie]
- Update the contact phone number
- Click the delete button to remove the existing Property Manager role
- Click the new button to add a replacement role
- Assign the System Admin role to grant full administrative access
- Click on the save button
Updating an Email Address
Section titled “Updating an Email Address”Change the email address on a contact record, which resets their login link so they can re-register with the new address.
- Click [System Maintenance / Contacts] on the main menu
- Click row where [firstName] is [Charlie]
- Open the Edit Email Address action
- Enter the new email address for this contact
- Confirm the email address change
Retiring a Contact
Section titled “Retiring a Contact”Close off a team member who has left the agency. Their access is withdrawn and their record is marked as a past participant, while all of their history stays intact.
- Click [System Maintenance / Contacts] on the main menu
- Open the contact who has left the agency
- Choose the Retire action to withdraw this contact's access
- Confirm the retirement — the role is removed, further email is blocked, and the contact is marked as a past participant